Guidance for Preparation, Protection and Cleaning Newly Rendered Walls
Preparing Rendered Walls for Painting
Rendered walls are a great option for adding texture and style to any home. However, in order to ensure rendered walls have the longest possible lifespan, it is important that they are prepared correctly before painting or decorating. Here are some steps to follow when preparing new rendered walls:
- Check the wall’s condition – Inspect the wall for any visible defects or cracks, and repair them if needed. If there are no repairs needed, you can move on to step two.
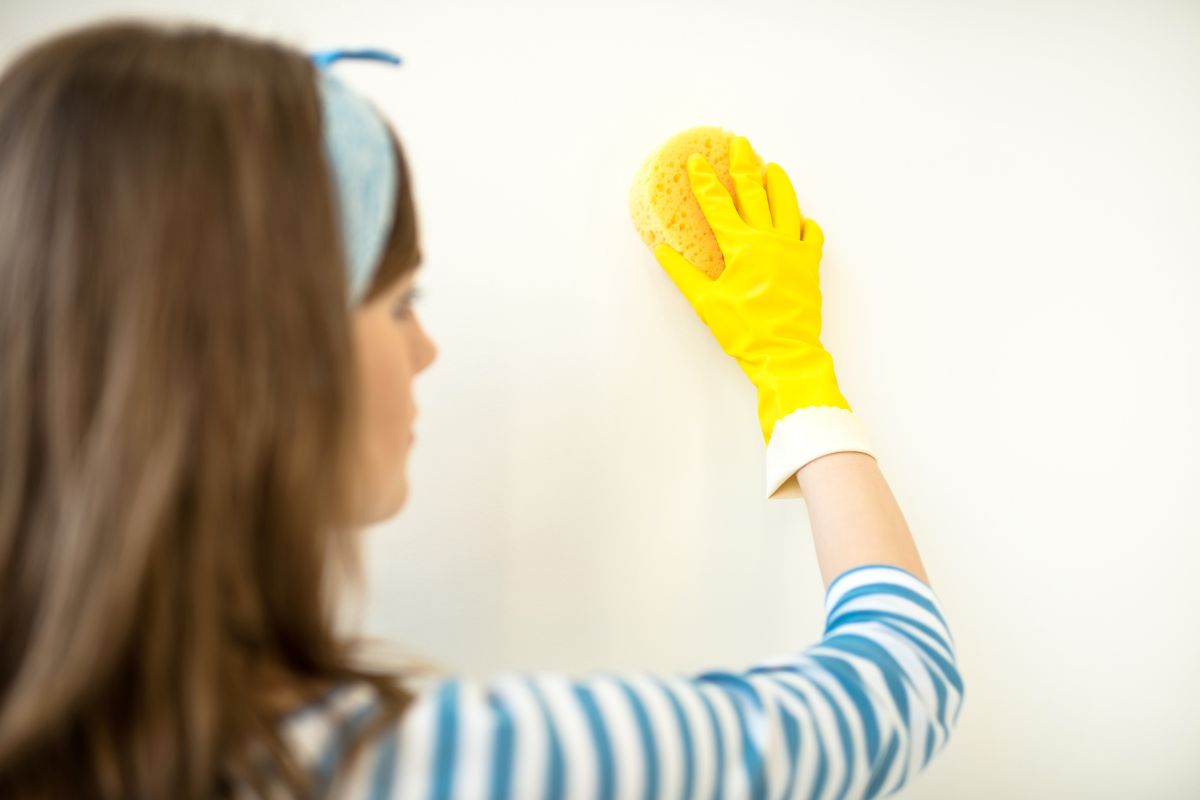
- Clean the wall – Use a mild detergent and warm water solution to remove any dirt from the surface of your newly rendered walls prior to painting. Make sure all residue has been removed before moving on to the next step.
- Primer application – Apply an appropriate primer to ensure that your newly rendered walls are sealed and protected against moisture, dust, and other environmental factors. Make sure you use a quality product that is suitable for your specific wall’s surface material. Read more about the benefits of using a primer before wall rendering.
- Sanding – Use a fine-grit sandpaper or sander to lightly sand the entire surface of your newly rendered walls prior to painting them. This will ensure even coverage and help create a smoother finish once painted.
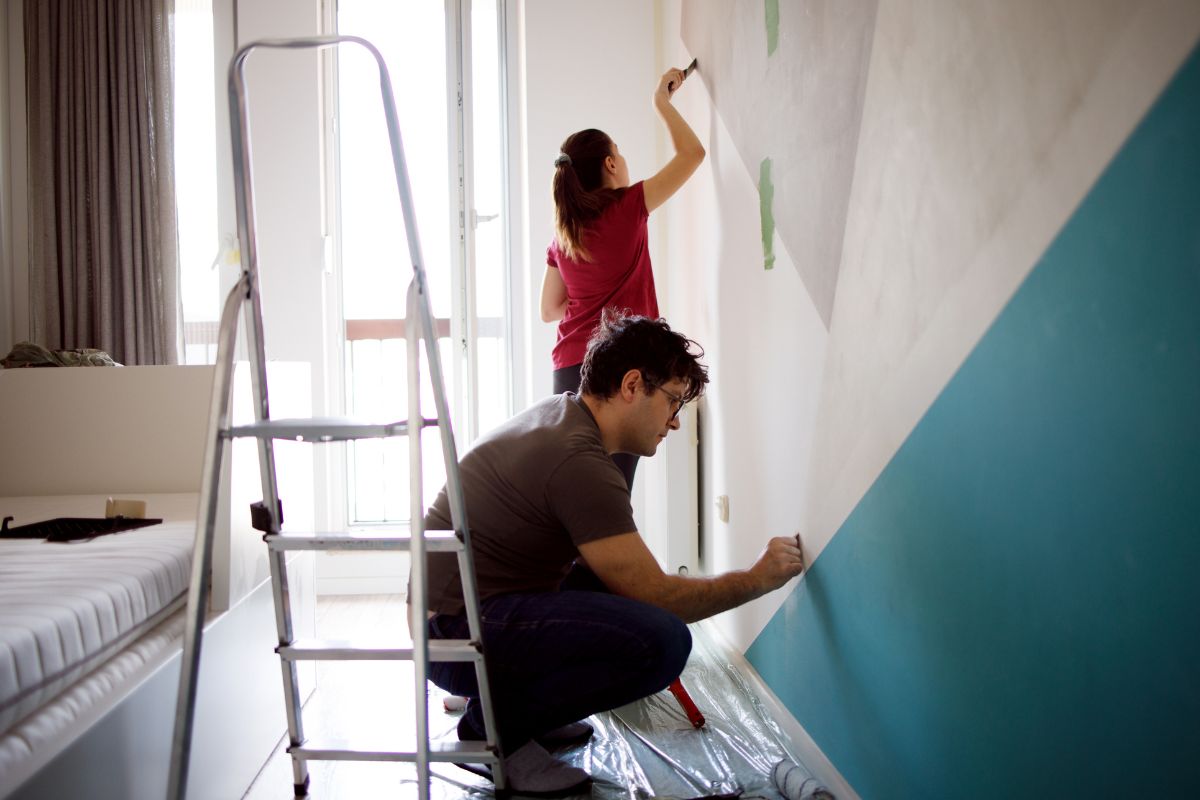
- Paint application – Finally, apply the paint of your choice using either a brush or roller for even coverage. When done, allow the paint to dry completely before moving on to the next step.
Protecting Rendered Walls from Damage
In addition to preparing your newly rendered walls for painting, it is also important to take steps to protect them from damage and ensure their longevity. Here are some tips for protecting newly rendered walls:
- Seal – Apply a quality sealant that is designed specifically for the type of surface material your wall has been rendered with in order to provide additional protection against moisture and other environmental factors.
- Use protective coverings – Whenever possible, use temporary furniture or floor coverings when moving items around on top of newly rendered walls in order to prevent scratching or denting the surface.
- Regularly clean – To keep your newly rendered walls looking their best, it is important to regularly clean them with a mild detergent and warm water solution. This will help remove any dust or dirt that could build up over time and cause damage.
- Consider professional cleaning – If your newly rendered walls are in need of a deep clean, consider hiring a professional cleaner who specializes in cleaning surfaces like this one. They will be able to provide the most thorough cleaning possible without damaging the surface of your wall.
Cleaning Newly Rendered Walls
Cleaning newly rendered walls can be done by following some simple steps:
- Dust removal – Begin by using a dry cloth or handheld vacuum to quickly remove any dust or debris from the surface of the wall.
- Washing – Next, mix a mild detergent with warm water and use a soft cloth or sponge to clean the surface of your newly rendered walls. Make sure all residue is removed before moving on to the next step.
- Rinse – Use clean water to rinse away any soapy residue from the surface of your wall, taking care not to leave behind any excess moisture that could cause damage.
- Dry off – Finally, dry off your newly rendered walls by using a clean, dry cloth or towel and allow them to air dry completely before proceeding with any further painting or decorating work.
By following these steps for preparation, protection and cleaning newly rendered walls, you can ensure that your walls look their best and last for years to come. If you have any questions about how to care for your newly rendered walls, it is always best to consult with a professional who has experience working with this type of material. They will be able to provide more specific advice tailored to the specific conditions of your home.
Related Articles