Benefits of Using a Primer Before Wall Rendering
When it comes to preparing a wall for rendering, there is no better preparation than using primer. Primers are specially designed products that provide an even surface to which the render can adhere and create a strong bond with the wall. Using a primer before rendering helps to ensure that your walls will look their best and last longer.
Primers also help protect against water damage and mold growth, as well as providing extra adhesion for paint, sealant, wallpaper, or other finishes. This article will discuss the many benefits of using a primer before rendering your walls and how you can incorporate this essential step into your home improvement project.
What is Primer?
Primer is an important step in prepping a wall before rendering. Primer is a type of paint that provides an even, absorbent surface on which render can adhere. It also helps to protect the underlying material from moisture and any potential damage that may occur over time.
Primers come in a variety of finishes, such as flat, eggshell, semi-gloss, or gloss so you can choose one that best suits your project. Many primers are also available with added benefits such as mildew protection or enhanced adhesion for non-traditional surfaces like tiles or glass.
Why Should I Use Primer?
Using primer before rendering is essential if you want your walls to look their best and last longer. A good quality primer will help create a strong bond between the render and the wall, which will help to prevent cracking, bubbling, or other issues that can occur over time.
Primer also helps to protect your walls from damage caused by water and moisture. Without primer, any paint or sealant applied to a wall may become stained by water seeping through the render. Primers are designed to keep moisture out and create an overall stronger barrier against potential damage.
Finally, primers help improve adhesion for paints and other finishes like wallpaper or tile adhesive. When applying a finish on top of rendering, it is important that it has a strong bond with the underlying surface in order to ensure longevity and durability. A good quality primer will help improve this bond.
How Do I Apply Primer?
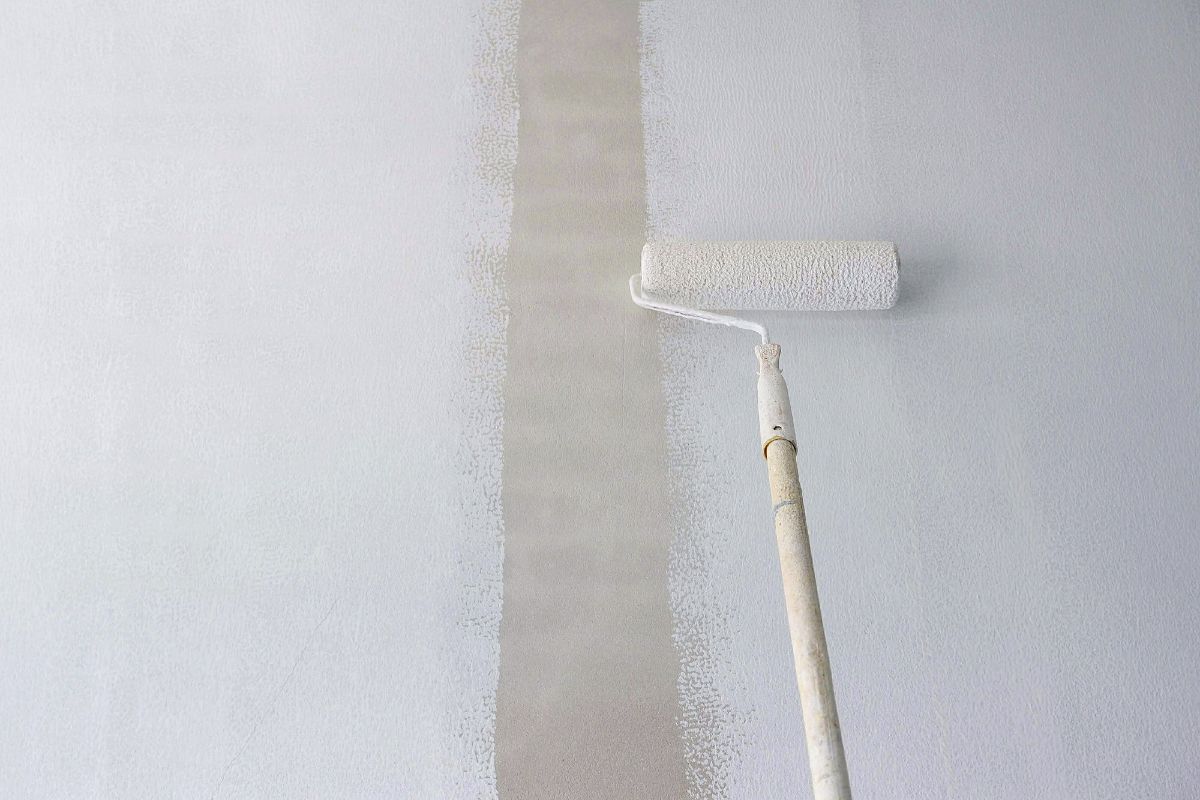
Applying primer is a relatively simple process. The first step is to ensure that the surface of the wall is clean and free from any dirt or debris. Next, you will need to decide which type of primer is best for your project.
Once you have chosen a primer, use a paint roller or brush to apply it evenly across the entire wall surface. You may need several coats depending on how absorbent the wall material is. Once dry, you can then proceed with rendering as normal.
Conclusion
Using a primer before rendering your walls is an essential step in preparing them for painting or wallpaper adhesion. Primers help create an even, absorbent surface on which the render can adhere, as well as providing extra protection from water and moisture damage. Additionally, primers help to improve adhesion for finishes such as paints and wallpapers.
Using a primer before rendering may seem like an unnecessary step but it is essential if you want your walls to look their best and last longer. Applying primer is a straightforward process that will take minimal time and effort compared to the finished result. So, if you are planning on rendering your walls be sure to include primer in your preparation steps!
Related Articles
Reasons Why Failing to Properly Prepare a Wall can Cause Render Failure