DIY Wall Rendering Instructions
Rendering is an excellent way to give a wall a smooth and professional look. Wall rendering can be done either as a DIY project or by hiring professionals. In this article, we will provide step-by-step instructions on how to render your walls yourself.
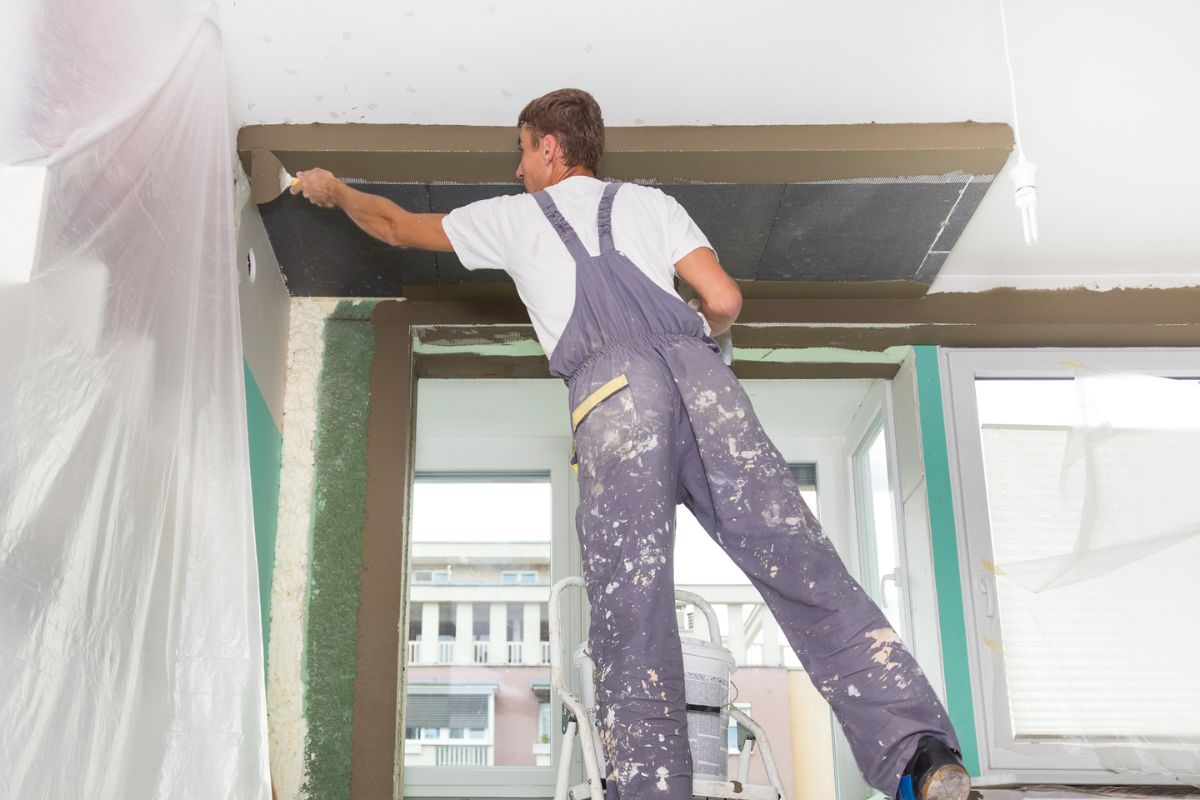
Before you start the project, there are several factors you should consider such as what materials you need, the cost involved, and safety procedures. It’s also important to make sure that you have access to the necessary tools and equipment before beginning the project.
What You Need for Rendering a Wall
Rendering requires specific materials in order for the project to be successful. Here’s a list of supplies needed for wall rendering:
- Render mix
- Trowel
- Bucket or wheelbarrow
- Sandpaper/wire brush
- Sponge/cloth
- Putty knife or spatula
- Drop cloth or plastic sheeting for floor protection
- Protective eyewear and gloves to protect you from debris and dust particles.
Preparing the Wall for Rendering
Before you start working on the wall, it’s important to make sure that it is properly prepared so that the render will adhere correctly. Here are some steps to take before beginning your project:
- Clean the wall thoroughly with a sponge and soap solution. Use a wire brush or sandpaper to remove any loose paint or debris.
- Fill any cracks and holes with a filler such as spackle or joint compound. Make sure that it is completely dry before you start rendering.
- Once the wall is clean and prepped, it’s time to get started on the actual rendering process.
Rendering the Wall
- Now that your wall is ready for render, follow these steps to ensure a successful project:
- Prepare the render mix according to manufacturer’s instructions in either a bucket or wheelbarrow. Add water little by little until you achieve an “oozy” consistency (not too thick nor too runny).
- Using a trowel, apply the render mix to the wall in small sections (no more than 1 square meter).
- Immediately smooth out any lumps or uneven surfaces with the trowel so that you achieve an even finish.
- Once you have covered the entire wall, allow it to dry for 24 hours before adding additional layers of render if desired.
- If your finished wall is not completely flat or has minor imperfections, use a putty knife or sponge to fill in any small gaps and give it a smoother look.
- Once you are satisfied with the results, wipe down the surface with a damp cloth to remove any excess dust or debris and then let it dry completely.
Safety Tips When Rendering
When tackling any home improvement project, safety should always be a priority. Here are some tips to keep in mind when rendering a wall:
- Wear protective eyewear and gloves throughout the process to protect yourself from debris and dust particles that may fly into your eyes or onto your skin.
- Always mix the render mix according to manufacturer’s instructions in order to ensure proper adhesion of the render to the wall.
- Make sure that you take necessary precautions for ventilation such as opening windows or using fans to prevent the build up of toxic fumes from paints and solvents used in the project.
- Do not work on the wall if it is raining or during any other inclement weather since the render will not adhere correctly.
Conclusion
Wall rendering can be a relatively simple do-it-yourself project when done correctly. By following these guidelines and taking the proper safety precautions, you can achieve professional looking results on your own. With a bit of patience and practice, anyone can successfully render their walls to perfection!
Related Articles