Tips for Rendering a Wall
Rendering walls is an effective way to create a hygienic, waterproof and aesthetically pleasing finish. Wall rendering has been around for centuries, but modern technology and methods have revolutionized the process. Whether you’re a DIY enthusiast or a professional plasterer, here are some tips to help you get the best results when rendering your walls.
 Prepare Surfaces before Rendering
Before applying render to any wall surface it’s essential that you prepare the area first. This involves cleaning away dirt, grease and loose material from both new and existing masonry surfaces. You should also fill in any holes or cracks with appropriate repair materials such as cement-based filler or plaster of Paris. Doing this will provide a smooth and even surface to apply the render onto.
Choose the Right Render
When it comes to selecting the right render for your project, you’ll need to consider a range of factors such as porosity, flexibility and resistance to weathering. The type of wall you’re working on – brick, concrete or stone – will also affect your choice of render material.
For example, some renders are better suited to damp environments while others are more suitable for dry areas. If in doubt, consult with an experienced professional who can help you select the best product for your needs.
Measure and Mix Your Render
Accurate measuring is essential when mixing up render materials for wall rendering. Follow the manufacturer’s instructions carefully and measure out small amounts of material at a time to ensure that it is thoroughly mixed together. You may also need to use water or mixing aids such as lime putty or sand to get the correct consistency for your render.
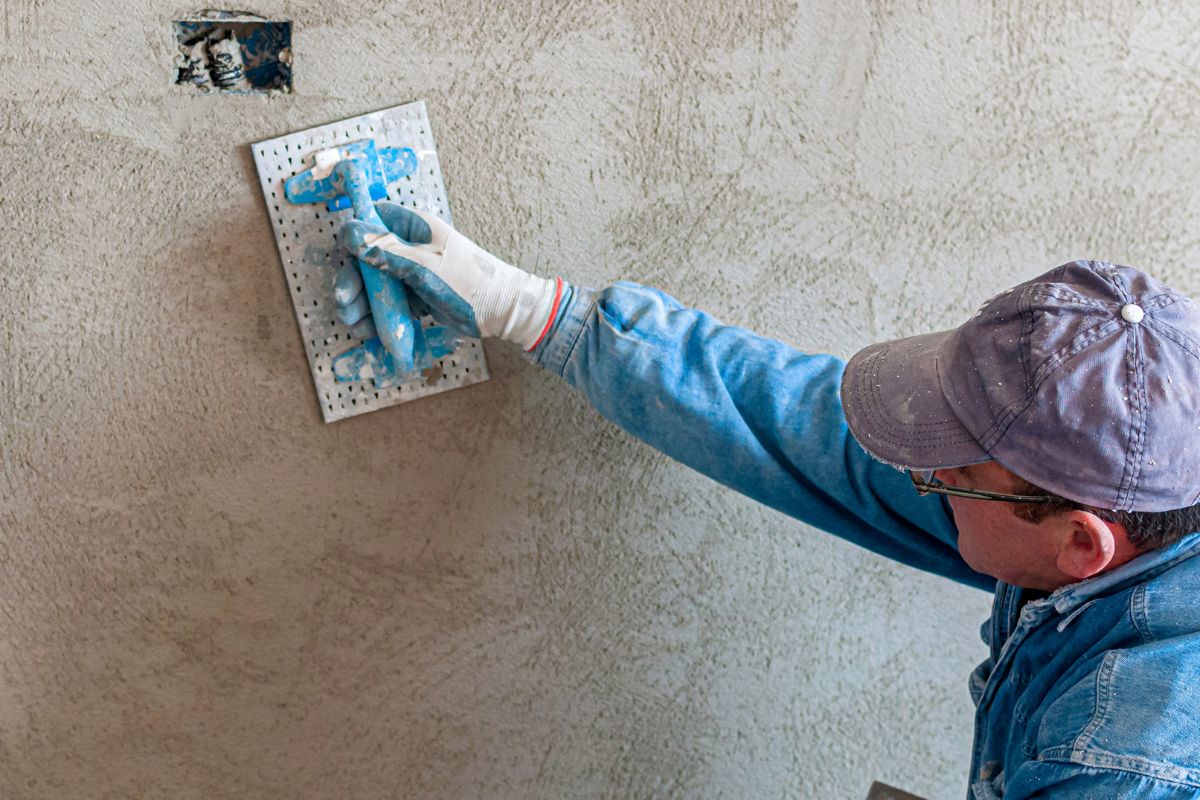
Apply Render Evenly
Once you have prepped surfaces, chosen the right render and accurately measured and mixed it, you are ready to apply the render onto walls. Make sure that you spread the material evenly across the surface using either a trowel or specialist applicator tool.
Depending on what type of finish you want, you can create different textures by increasing or decreasing pressure as you work with your tools. If needed, don’t be afraid to apply multiple layers of render until you achieve the desired look.
Let Render Dry Before Applying Finishes
Once your wall has been rendered, it is important that you let it dry fully before applying any finishes. This will reduce the risk of bubbling or cracking caused by trapped moisture and ensure that your surfaces look great for longer. Drying times can vary depending on environmental conditions and the type of render used, so consult with a specialist if in doubt.
By following these tips, you should be well on your way to achieving professional-looking results when rendering walls. Taking the time to prepare surfaces properly and choosing the right materials are essential steps towards creating a stunning finish that can last for many years. Good luck!
Conclusion
Wall rendering is an ancient craft that has been used for centuries to create beautiful finishes and protect surfaces from the elements. While the materials and methods have changed over time, the basic principles remain the same: prepare masonry surfaces, choose the right render material, measure and mix it accurately and then apply it evenly with specialist tools.
Finally, let rendered walls dry fully before applying any finishes to ensure a lasting result. With these tips in mind you should be well on your way to achieving great results when rendering walls. Good luck!