Preparation for Rendering Walls
When preparing to render walls, it is important to take the necessary steps to ensure a successful outcome. With proper preparation, you can enjoy beautiful rendered walls that will last for many years.
Clean the Walls To Be Rendered
The first step in preparing your walls for rendering is to clean them thoroughly. Remove any dirt, dust, grease or other debris using a damp cloth or vacuum cleaner. Make sure to get into all of the nooks and crannies so that nothing interferes with the rendering process. This will also help ensure your render lasts longer by preventing any contaminants from getting trapped between layers of paint or plaster.
Patch Any Holes Or Cracks In The Wall With A Putty Knife
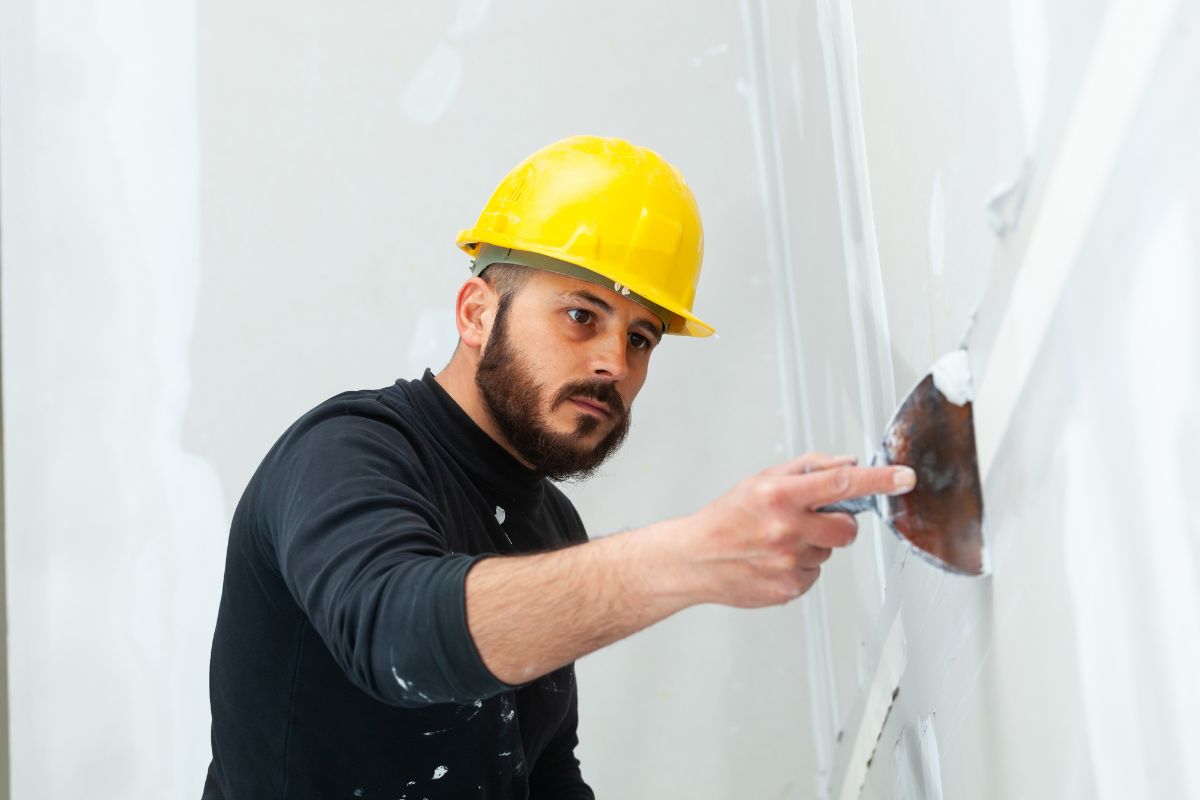
Once the walls have been cleaned, you’ll need to patch any holes or cracks that may exist. Using a putty knife, fill in any gaps with a suitable filler such as plaster. Make sure to smooth out the surface of the filler so that it is level with the surrounding wall. This will ensure that your render bonds properly and looks good when finished.
Apply Render Primer To The Walls Using A Brush Or Roller
Before applying render, it is important to apply a suitable primer to the walls first. Choose a quality primer specifically designed for use on rendering projects and follow the manufacturer’s instructions closely. Use either a brush or roller to apply an even coat of primer over all surfaces of your walls before moving on to the next step.
Apply At Least Two Coats Of Render To The Walls, Allowing Each Coat To Dry Completely Before Applying The Next
Once the primer is dry, you can begin applying render to your walls. Make sure to apply at least two coats of render, allowing each coat to dry completely before applying the next. This will ensure that your render bonds properly and looks great when finished. If you’re unsure how much render to use per wall, consult a professional for advice.
Finish By Sanding Down The Rendered Surface And Wiping Away Any Residue
Finally, once all of the rendering is complete, finish by sanding down the rendered surface with a fine grit sandpaper. This will help to remove any bumps or imperfections in the surface and make it look smooth and even. After sanding, use a damp cloth to wipe away any residue and you’re done!
With these simple steps, you can prepare your walls for rendering quickly and easily. Once complete, you’ll be able to enjoy beautiful rendered walls that will last for many years to come. So get started on your project today!
Related Articles
Reasons Why Failing to Properly Prepare a Wall can Cause Render Failure