Techniques for Patch Repair on Existing Rendered Walls
Rendering walls has been a popular task for home improvement jobs for centuries. While it can provide an attractive and long-lasting finish, all too often rendered walls start to show signs of wear and tear over time. Cracks, chips, and other damage caused by weather or accidental impact can be difficult to repair without the right tools and techniques. Fortunately, patch repair is a straightforward process that any experienced DIYer or professional building technician should be able to handle with some confidence.
 d
d
Patch Repairing Basics
Before attempting any kind of patch repair job on a rendered wall, it’s important to understand the basics of the procedure. The main purpose is to fill in small holes or gaps using a material that will blend in with the existing surface. In most cases, a plaster-based product is the best choice for this job due to its ability to adhere to almost any kind of material and be manipulated into a smooth finish.
Preparing the Wall
Before patch repair can begin, it’s important that the wall is thoroughly cleaned and prepared. Dust, dirt, oxidation, and other debris must be removed from the affected area with a wire brush or similar tool before proceeding. If necessary, it may also be necessary to remove any loose paint or render in order to ensure that the work is being carried out on an even surface.
Applying Patch Repair Material
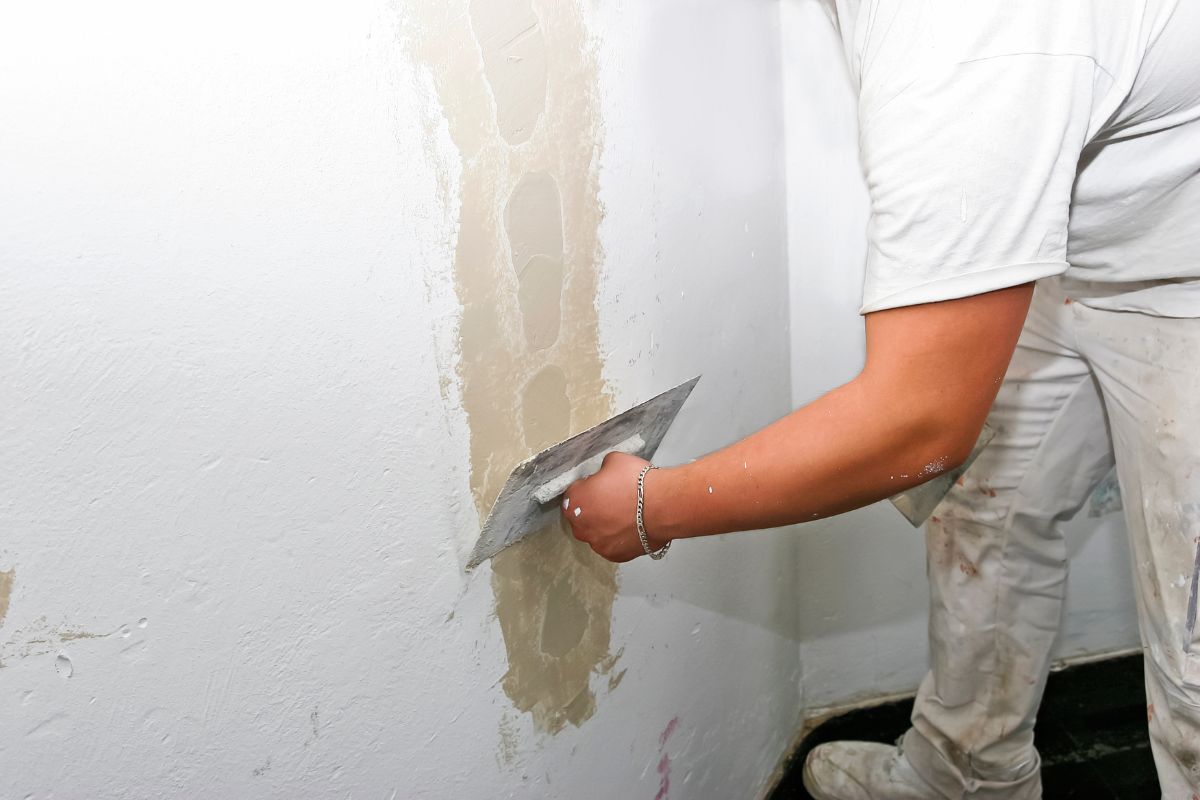
Once the wall has been prepped and inspected for any further damage or irregularities, it’s time to start applying the patch repair material. This can be done in several stages, starting with the application of a thin layer of plaster-based product to the affected area. This should then be smoothed down with a trowel or similar tool, taking care to ensure that it is spread evenly and flush with the existing surface.
Finishing Touches
The final step for any patch repair job is to add a protective topcoat. In most cases, this can be an acrylic sealer or other water-resistant material, which will help to protect the wall from further damage down the line. Depending on the finish desired, it may also be possible to apply some kind of decorative paint over top of this coating – although it’s important to bear in mind that the patch repair material must be completely dry before this step is carried out.
Patch repair is an effective way of restoring a rendered wall back to its former glory, but it should not be undertaken lightly. Taking the time to properly prepare and apply the patch repair material will ensure that the job is done correctly and can stand the test of time for many years to come. With some patience and attention to detail, any DIYer or professional tradesperson should find patch repairing existing rendered walls a simple yet rewarding task.