How to Finish Rendered Walls with Paint or Texture Coating?
Rendered walls provide a great opportunity to bring new life and energy into your home. Whether you’re looking for a sleek and modern feel or a more traditional look, finishing rendered walls with paint or texture coating is an easy way to achieve the transformation you desire.
But before you get started, there are some important steps that need to be taken in order to ensure that your finished product looks its best. In this article, we will talk about what these steps are and how to effectively finish your rendered walls using paint or texture coating.
Cleaning the Wall Surface
Before beginning any painting or texturing project on rendered walls, it is important to make sure that the wall surface has been thoroughly cleaned. This can be done with a pressure washer, or simply by using a garden hose and scrub brush.
It is best to get rid of any dirt, dust, and debris that may have built up over time. This will help ensure that your paint or texture coating adheres properly to the wall surface and lasts longer.
Applying Primer
Once the rendered wall has been cleaned and dried, it’s time to apply primer. Primer helps prep the surface for paint or texture coating, as well as provide an even base for better coverage.
For best results, you should use a specialized masonry primer specifically designed for concrete walls. You’ll want to apply two coats of primer in order to achieve a smoother finish. Let the primer dry completely before proceeding to the next step.
Choosing a Paint or Texture Coating
Once your wall has been prepped, it’s time to choose what type of paint or texture coating you would like to use. For rendered walls, you will want to look for a paint that is specifically designed for masonry surfaces.
This helps ensure that you get the best coverage and longevity out of your finished product. As far as texture coatings go, there are many different types available on the market today so make sure that whatever product you choose is compatible with masonry surfaces as well.
Applying Paint or Texture Coating
Once your chosen product has been purchased it’s time to begin applying it. Paint is generally applied with a roller and should be done in even strokes so that you get an even finish on the wall.
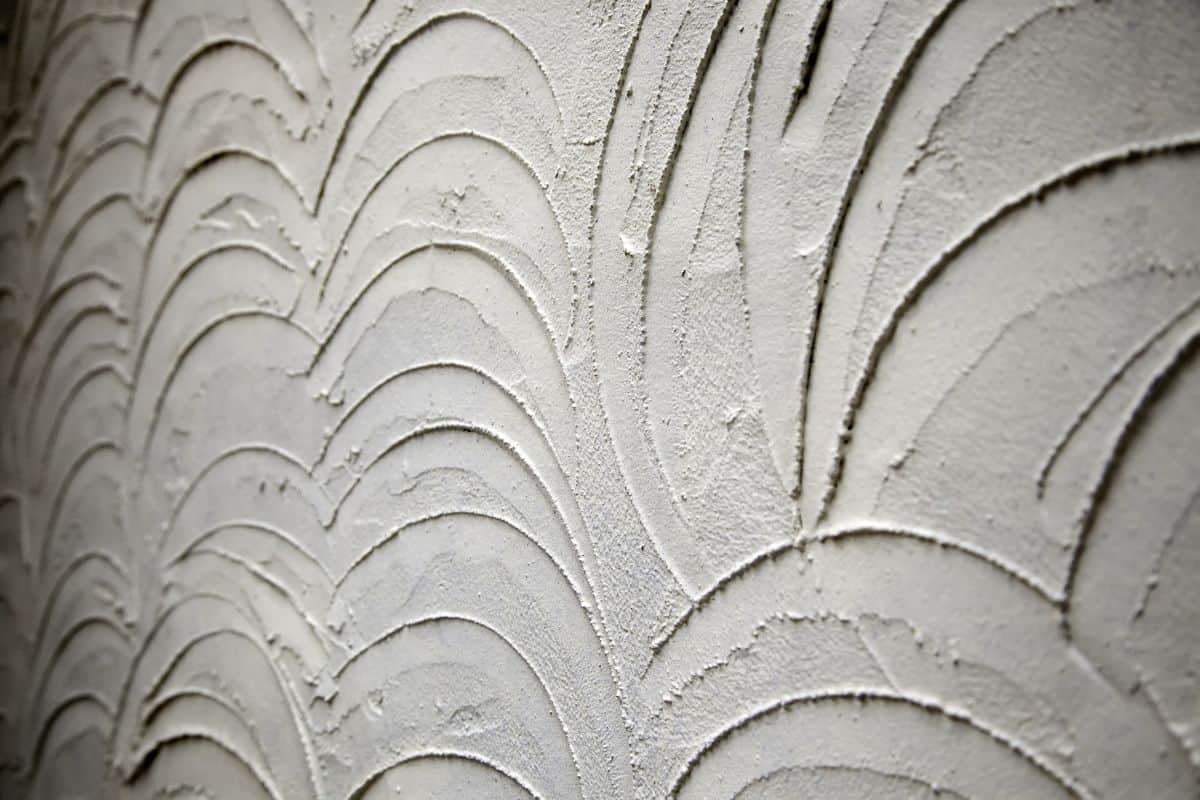
Texture coatings are usually applied using a special sprayer, although some products require a brush or trowel for application. When applying either paint or texture coating, make sure to work in small sections at a time and always follow the manufacturer’s instructions as closely as possible.
Finishing Touches
Once your paint or texture coating has been completely applied, you can add any additional touches such as stenciling, sponging, or glazing that you may want to incorporate into your design. This will help give your finished walls a unique and personalized look.
Caring for Finished Walls
Once your rendered wall has been successfully finished, you’ll want to make sure that you take proper care of it. This means regularly cleaning the walls with a mild detergent or cleaner as well as avoiding harsh chemicals or abrasive materials when cleaning. Additionally, be sure to periodically check for signs of wear and tear and address them as soon as possible in order to help preserve the longevity of the paint or texture coating.
Conclusion
Finishing rendered walls with paint or texture coating can be a great way to add life and energy into any home. By following these steps and taking proper care of your newly painted or textured walls, you can ensure that your finished product looks its best for years to come.
Now that you know the basics of painting and texturing rendered walls, why not get started on your next project? With just a few simple steps, you can create the perfect look for any space in no time at all!
Related Articles
Paint Selection Ideas to Match Wall Rendering
Pros and Cons of Different Finish Textures for Rendered Walls