Tips for Creating an Even and Durable Render Finish
Rendering is an important part of construction and renovation projects, as it helps protect walls from weathering and improves the visual appeal of buildings. But achieving a professional-looking finish requires more than just slapping on some render—it takes skill, expertise, and attention to detail. In this article, we’ll share some tips for creating an even and durable render finish that will last for years to come.
Prepare the Surface
The quality of your finished product depends largely on how well you prepare the surface before application. Make sure any existing paint or plaster has been removed, then use a wire brush or metal scraper to remove any dirt or debris from the wall’s surface. Once you’ve done this, fill in any cracks or holes with a suitable filler and sand them down until they are flush.
Choose the Right Render
When selecting render, consider how it will interact with the existing surface of your wall. Different types of render are designed to work best on different surfaces, so make sure you choose one that is compatible with your wall material. For brick walls, acrylic renders work well, while lime-based mixes tend to be better for stonework.
Mix and Apply Thoroughly
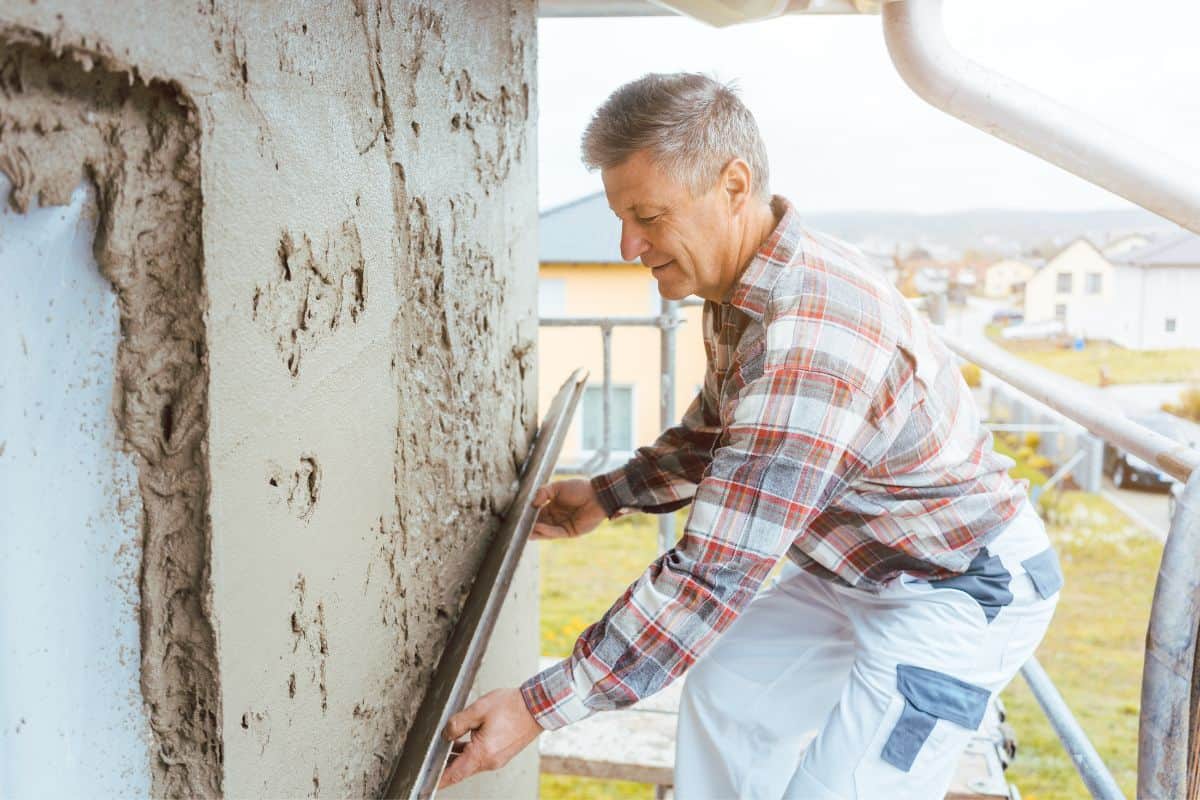
Once you’ve chosen an appropriate render mix, it’s important to mix and apply it correctly to ensure an even finish. Before beginning, make sure all materials used in the mixture are at room temperature—this will ensure a consistent consistency. Next, mix the render with water according to the manufacturer’s instructions and apply it using a trowel. To ensure an even finish, use long, smooth strokes and be sure to scrape off any excess render before it dries.
Use Plaster Finishes
Once you’ve applied your render and the surface is dry, you can add a plaster finish for added protection. This will help protect your render from chalking or fading over time. Applying a plaster finish also helps create a more consistent look across walls that have been rendered at different times or with different materials. To achieve a professional-looking finish, make sure all corners are smoothed down and no brush marks remain visible after application.
Add a Waterproofing Layer
Finally, consider adding a waterproofing layer to your render. This will help protect the walls from moisture and ensure that the finish lasts for years to come. There are many different types of waterproofing products available, so make sure you choose one that is compatible with your render type. Once applied, allow it time to cure before applying any additional layers or finishes.
Creating an even and durable render finish is not always easy, but following these tips should give you the confidence to get started on your next project. With the right preparation, materials and techniques, you can achieve a professional-looking result that will last for years to come!