How to Use Waterproofing Membrane When Rendering an External Wall?
Rendering an external wall is an excellent way to add style and character to your home or commercial space. But in order to ensure that the rendered finish lasts longer and remains protected from harsh environmental conditions, the correct waterproofing measures must be taken.
Using a waterproofing membrane is essential when rendering an external wall as it helps protect against water infiltration, provides insulation, and prevents any problems such as cracks or dampness. This article will explain how to use waterproofing membrane when rendering an external wall.
Preparation for Rendering with Waterproofing Membrane
Before commencing any rendering work on an external wall, there are certain preparatory steps which need to be taken in order to ensure that the finished result meets the desired standards.
This includes correctly assessing the wall’s condition, as well any existing cracks or deficiencies which must be addressed prior to rendering. If necessary, this stage should also include a thorough cleaning of the wall in order to remove dirt, dust and other contaminants.
Applying Waterproofing Membrane
The next step is to apply a waterproofing membrane to the external wall before beginning the render process. This involves applying a coat of adhesive onto the prepared surface and then laying down a sheet of flexible polyethylene membrane over it so that it covers all areas of the wall.
Once this has been done, it is important to ensure that there are no gaps or overlaps in order for the waterproofing layer to be effective.
Rendering with Waterproofing Membrane
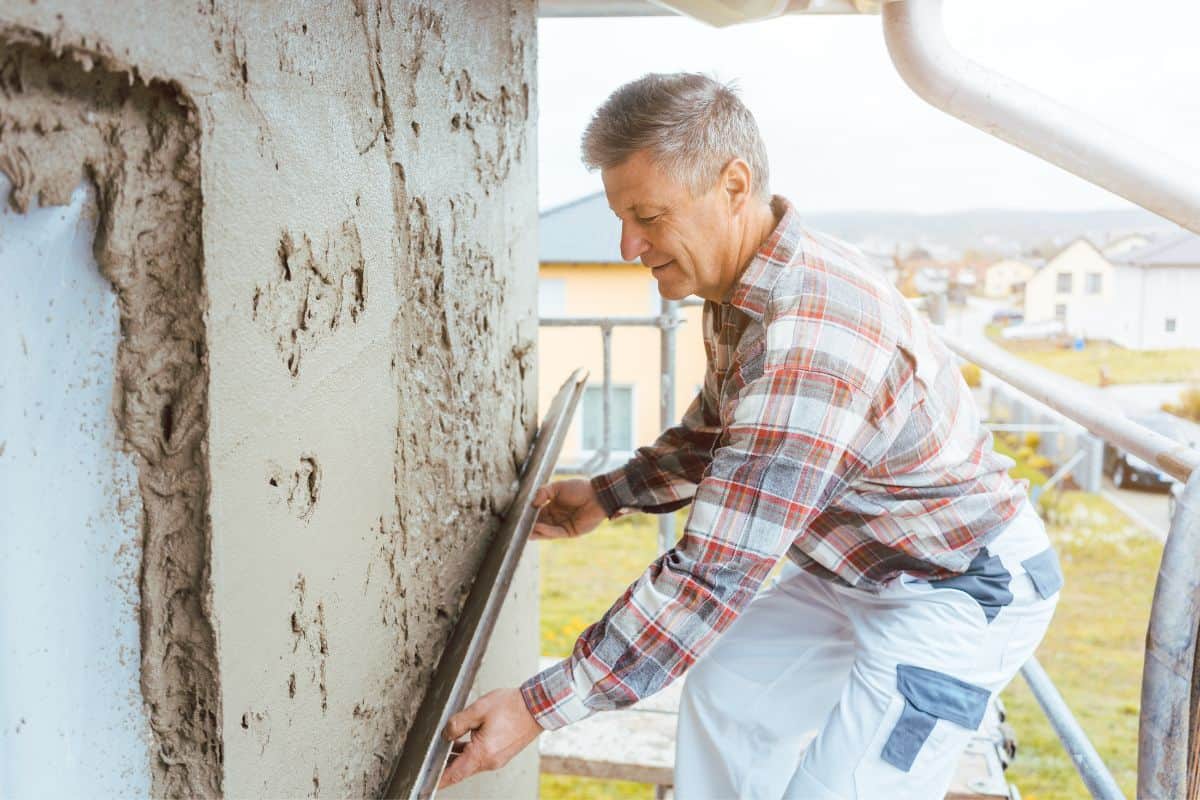
Once the waterproofing membrane has been installed, it is time to begin the process of rendering the external wall. This should always be done using a waterproof render mix which will bond securely to the membrane and create a strong and durable finish.
After applying the render layer, any any necessary finishing touches such as trowelling and smoothing must be completed before the surface is allowed to dry.
Finishing Touches with Waterproofing Membrane
After allowing enough time for the rendered finish to dry and set, it is possible to add additional protection by applying another coat of waterproofing membrane overtop of it. This can help ensure that the rendered surface is fully protected from water infiltration and other forms of damage which could occur over time.
The final step in this process is to apply a sealant over the membrane in order to create an added layer of protection which will help keep the wall looking great for years to come.
Conclusion
Using waterproofing membrane when rendering an external wall is essential if you want to ensure that your finished render job lasts as long as possible and stays protected against environmental conditions such as rain, snow and ice. By following the steps outlined above, it is possible to achieve a beautiful and durable finish while also providing additional protection against any potential problems that may arise in the future.
With careful preparation and attention to detail, applying waterproofing membrane can be easily completed and will help to create a stunning rendered finish that will enhance the appearance of your home or commercial space.